Tanker Containers Build Instructions
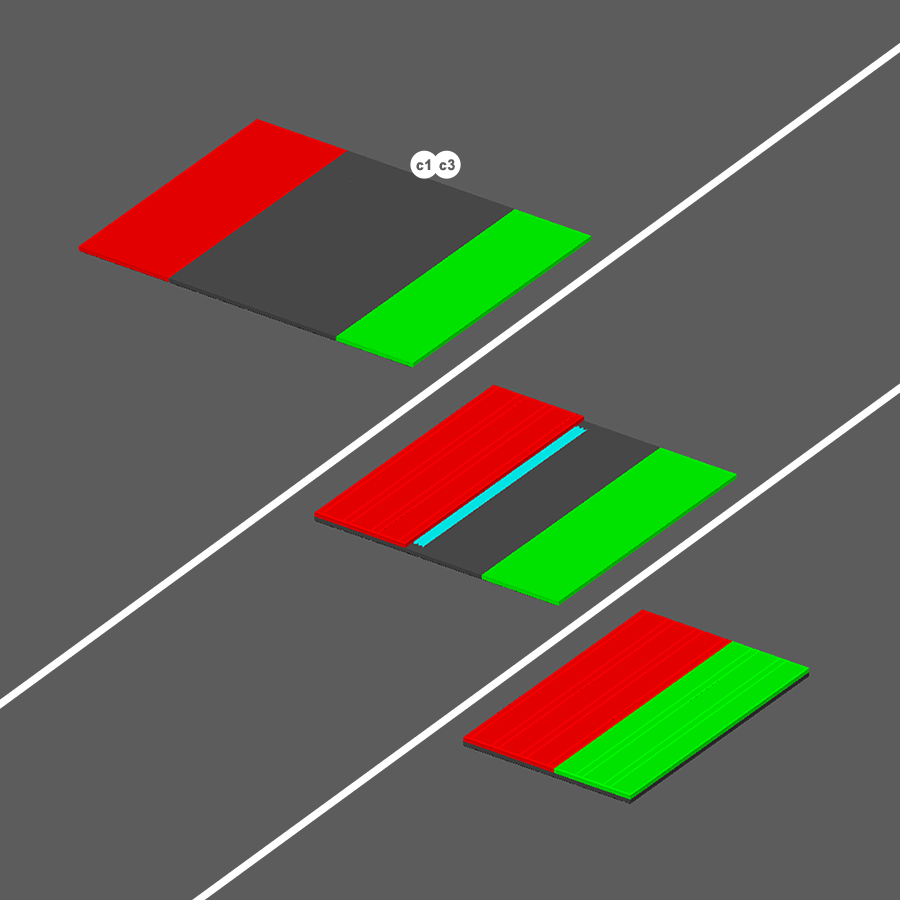
Step 1
Note: There two different art options for you to choose from (piece c1 or c3). The other is extra.
- Gently roll piece c1 or c3 to fold all scores on the piece.
- Fold over ¼ of the way over (as shown with the red color) and affix a piece of tape to the non-scored side.
- Fold the other end ¼ of the (shown with the green color) and press onto the tape to form the tank surround.
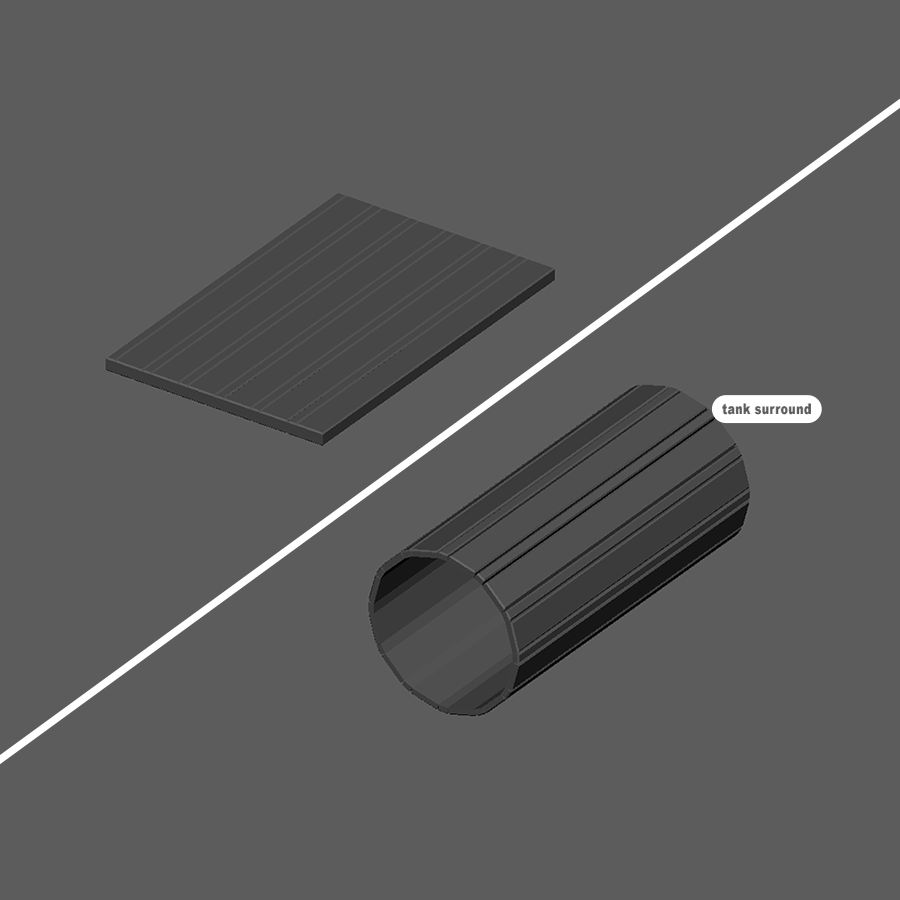
Step 2
- The piece can now be popped open to form a pretty cool tube shape. Neat!

Step 3
- Glue and clamp pieces as shown to create the bottom plate.
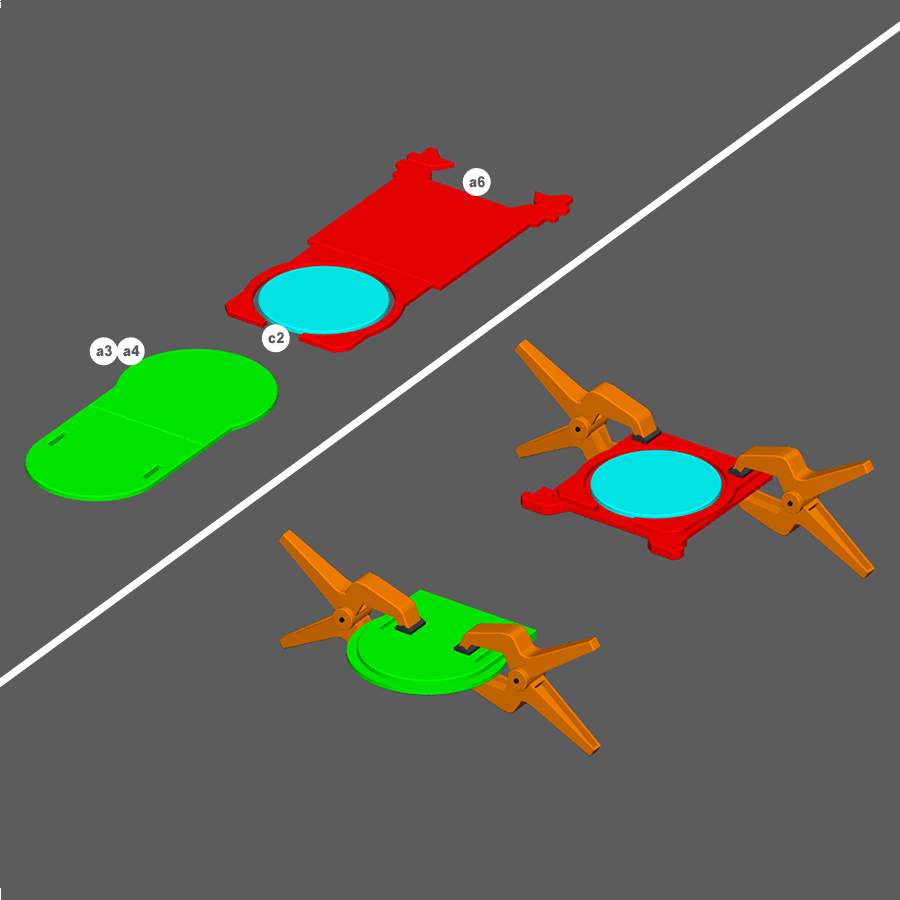
Step 4
- Fold, glue, and clamp as shown to create the end plate. You’ll do this twice.
- Make sure that piece c2 is aligned as close to center as possible as the tank surround from step 2 will seat into this piece.
Note: the little “Ark of the Covenant” pieces on the top of a6 can be fiddly. Use care, and if your name is Marion don’t look!!
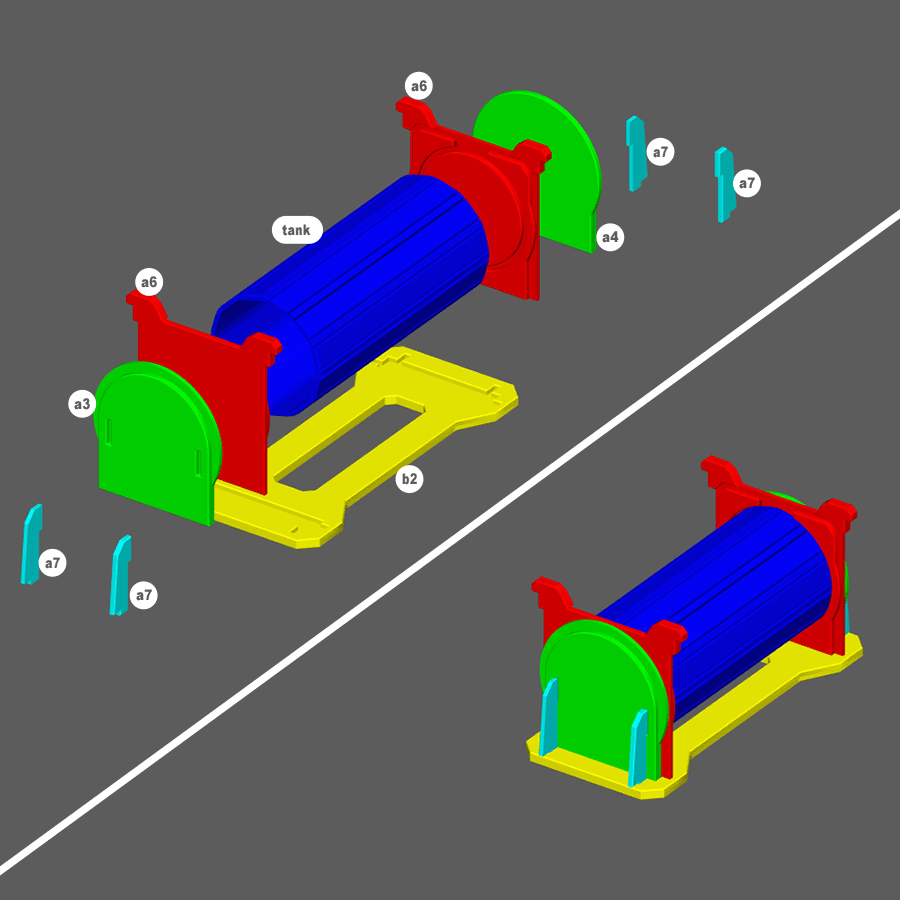
Step 5
Take the previously assembled and glued pieces, as well as the new pieces shown, and assemble as shown.
Note: use glue on all points of contact.
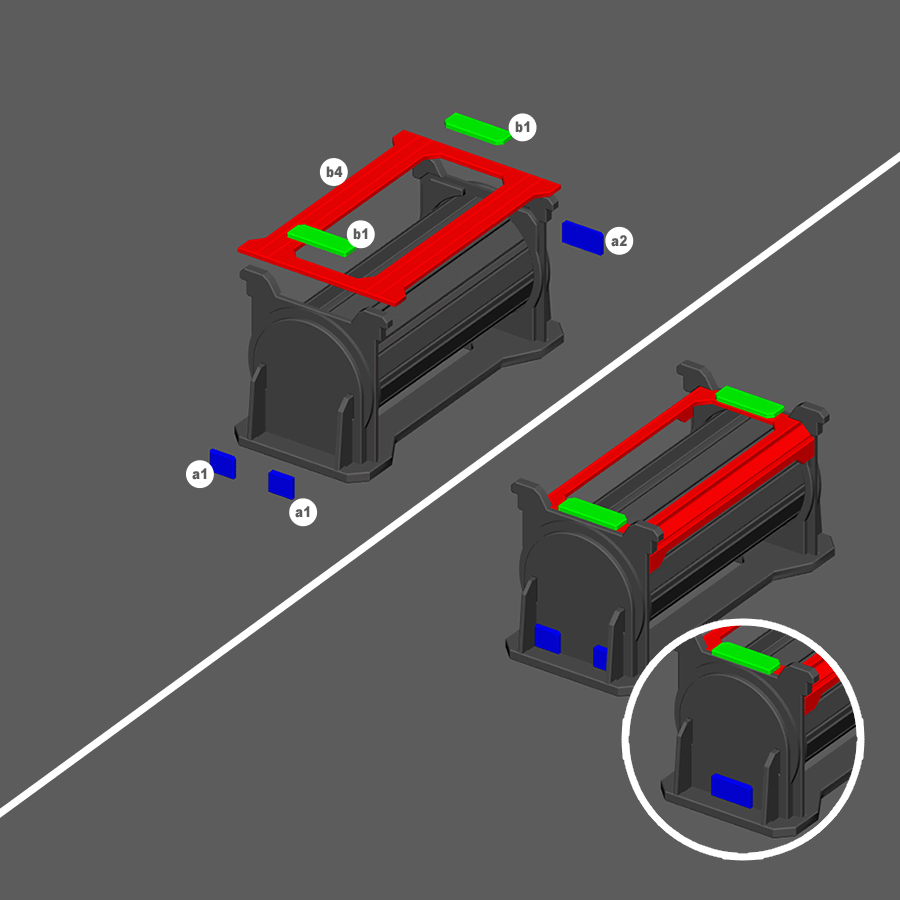
Step 6
- Glue and affix pieces as shown. (The circle inset in the image shows the back side of the fuel car)
Note: There are variety of pieces a1, and a2 with alternate artwork for you to choose from. There will be extras.
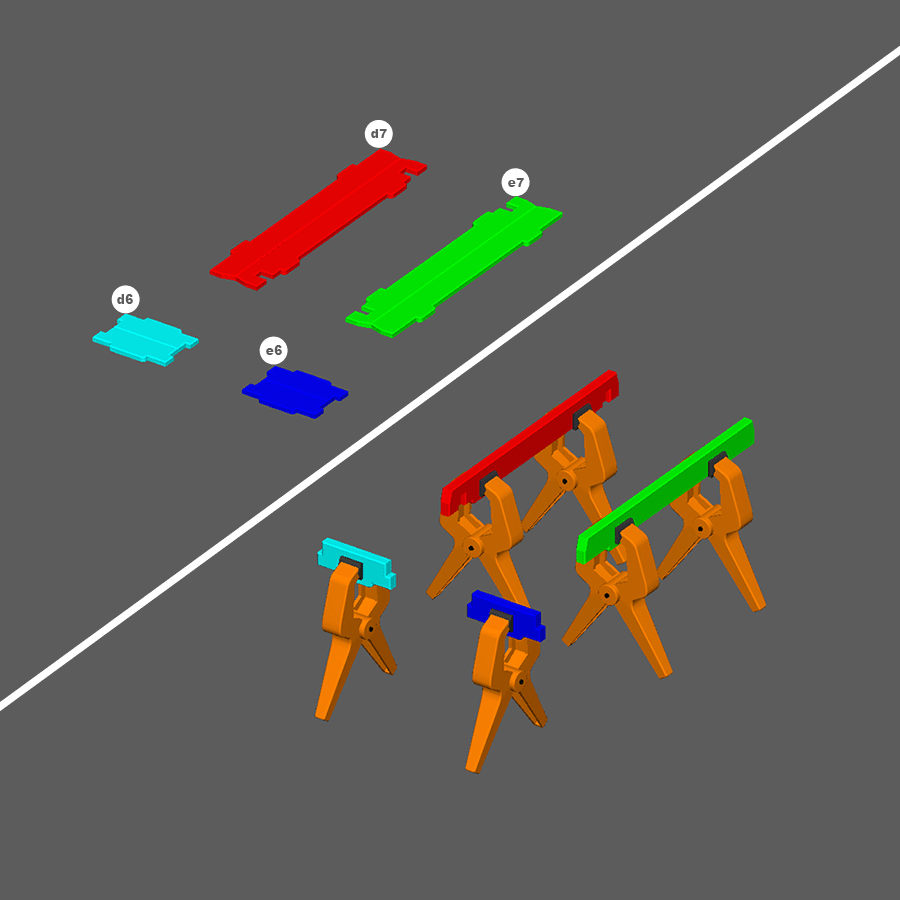
Step 7
- Fold, glue, and clamp as shown to create the bottom container rails.
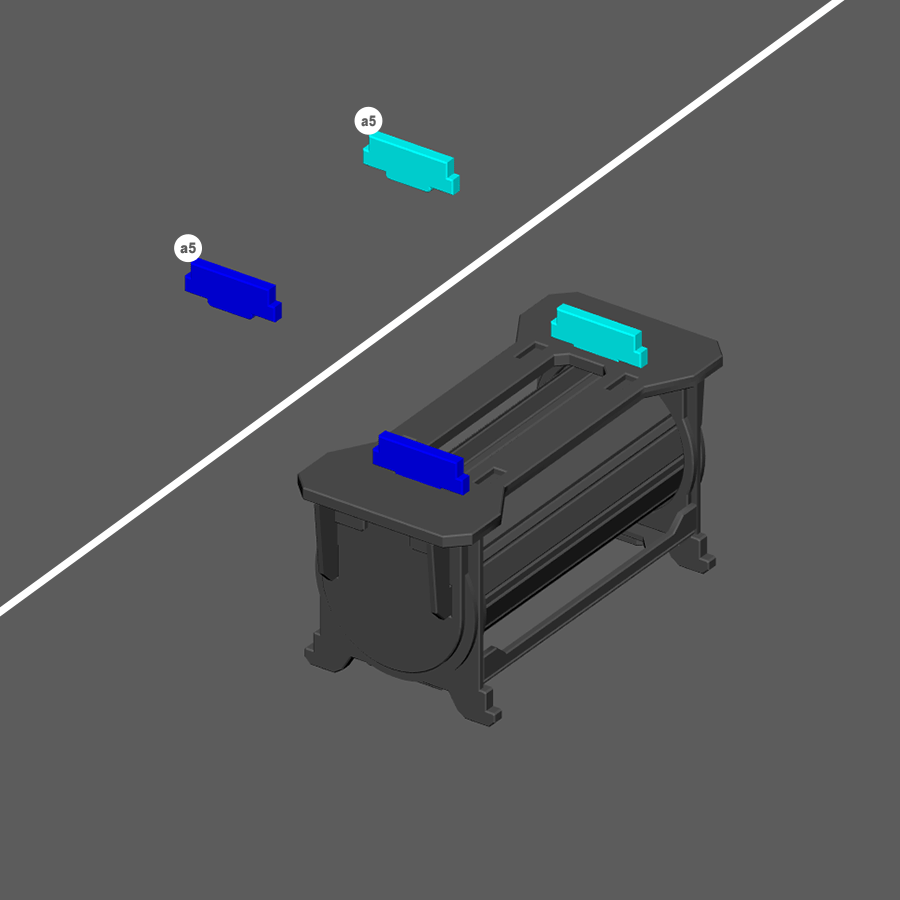
Step 8
- Glue the short rail pieces first, onto the bottom of the container assembly.
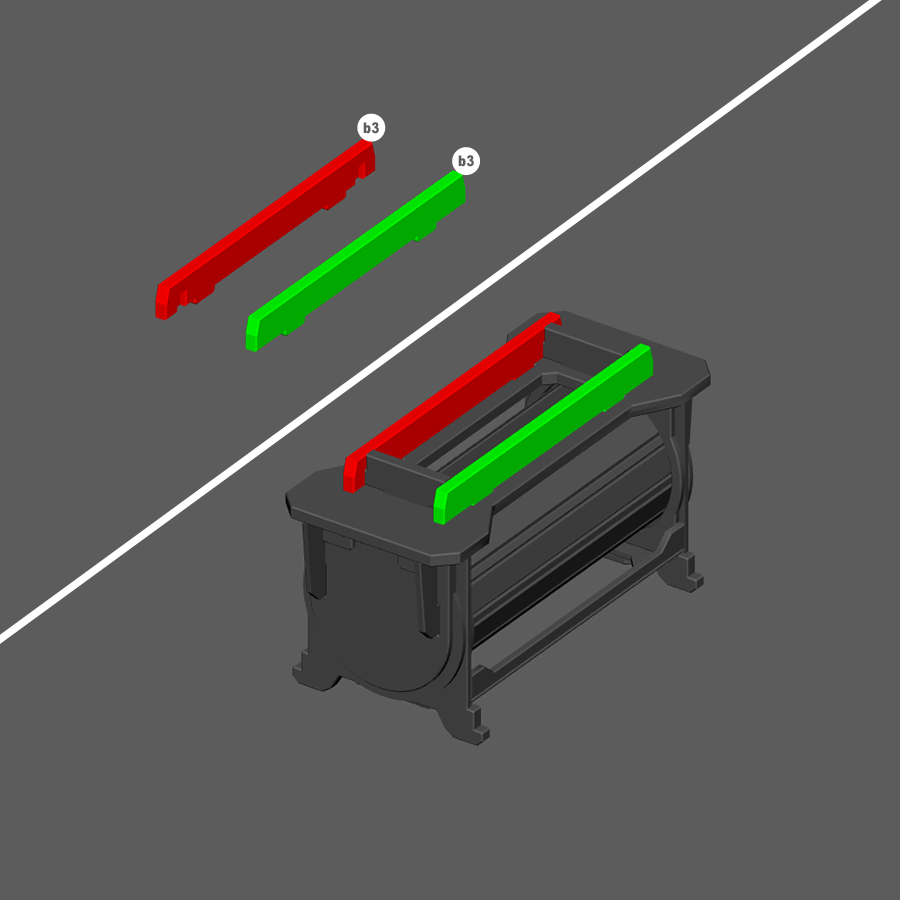
Step 9
- Glue the longer rails as shown.
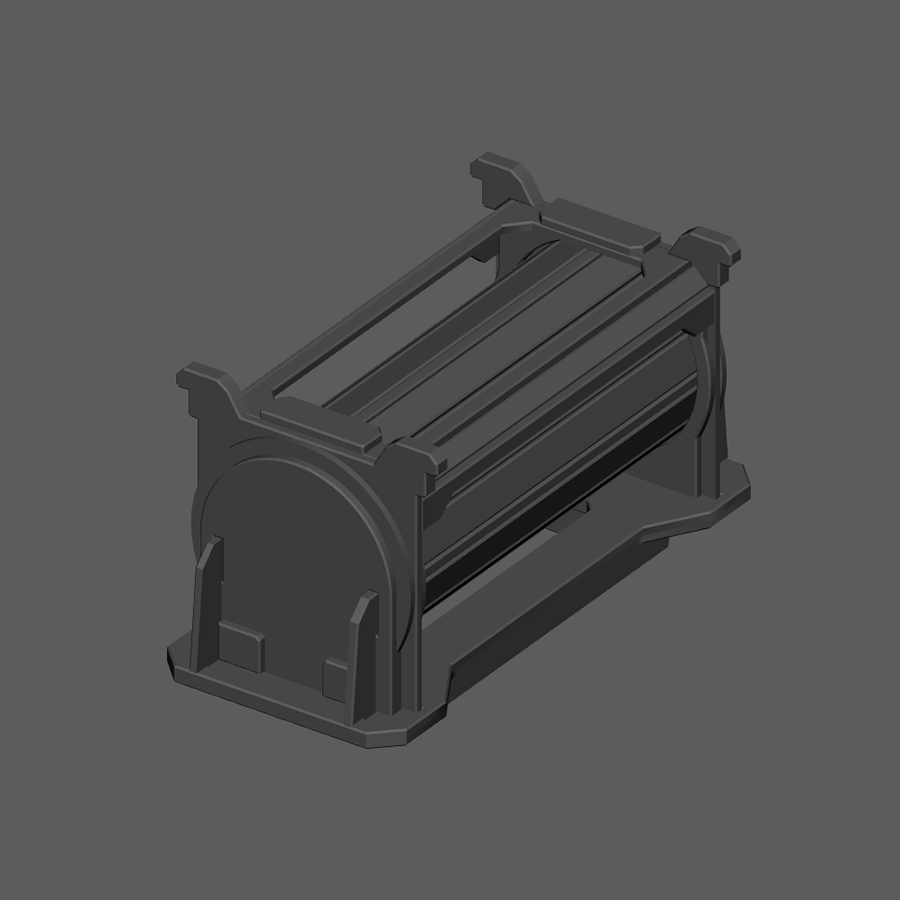
You’ve Finished a Tanker Container
Time to move on to another set!